Category Archives: DIY

DIY: T-shirt scarf

Posted on

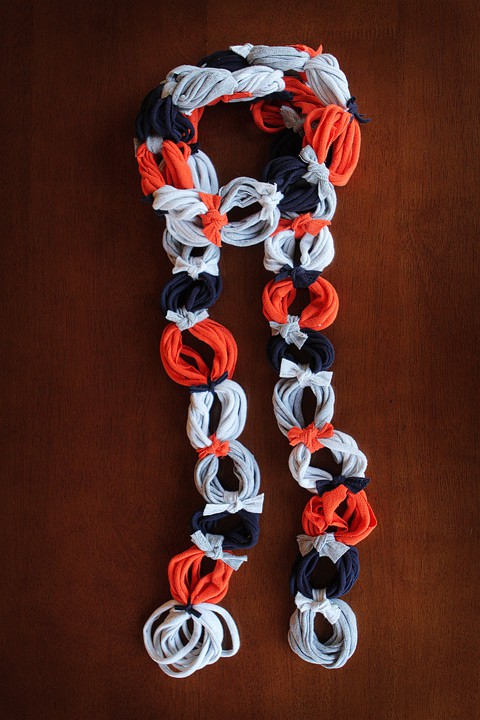
DIY t-shirt scarves are trendy and they can be as funky as you want them to be 🙂

This is the one I made Image

All you need is a t-shirt, a pair of scissors, needle and thread and anything you like for decoration 🙂

How to make your scarf 🙂

1. Cut long strips out of your t-shirt ans stretch them

2. Braid half if you want

3. Connect the ends using a square piece of cloth and stitch it there

4. Decorate as you want 🙂

Isn’t it simple??

and as always innovate 🙂

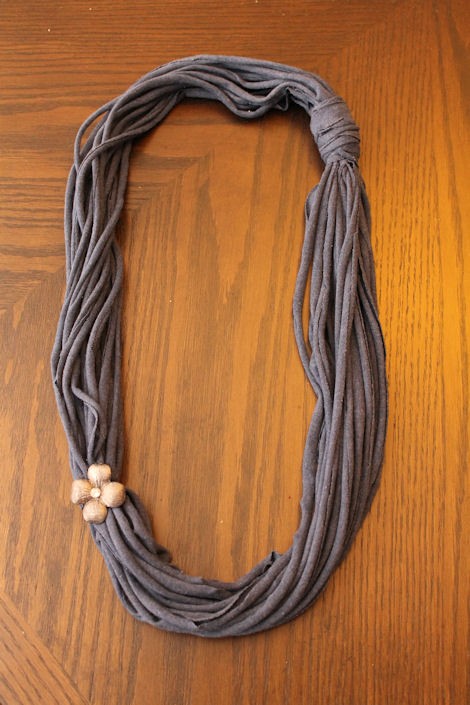
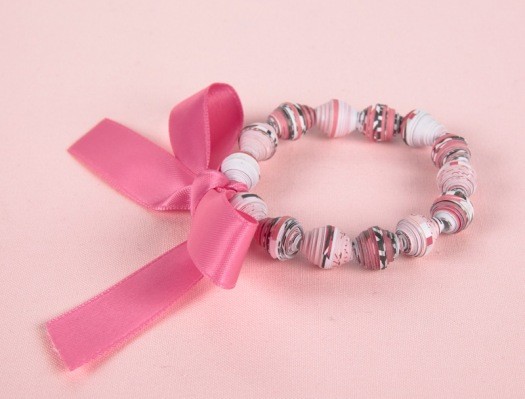
Use following examples:

Cheers!!

ImageImageImageImage

DIY: Melted crayon art

Posted on

Melted Crayon art is very beautiful and simple.


You will need:

1. Crayons

2.Glue

3. Tape

4. Hair dryer

5. Canvas

How to create a melted crayon art:

A ttach the crayons on the canvas using glue and then tape it.

Let it dry.

Now spread a newspaper and keep the canvas slant with the support of wall or holder and start spraying heat with the dryer.
Thats it..The colours will start falling and you will realize how simple and beautiful it is.

Don’t worry if the colour spills. After all that is the fun part.

Innovate and create beautiful designs. Check out our samples for example.

Cheers!!!

DIY : Paper beads

Posted on

Image


Lets make something awesome.. out of something we use in our day to day life..

DIYs are always fun, sometimes they turn out well and sometimes they don’t but still the fun part is trying.

For paper beads you will need:

  1. Newspaper
  2. Water
  3. Glue
  4. Sand paper
  5. Colour
  6. Varnish

How to make paper beads..

  • Rip the paper and boil it well.
  • After the water is reduced completely add gluee to it
  • Roll the beads (make sure you don’t do it while its still too hot)
  • Let them dry for a day or two
  • Sand the ends using the sandpaper
  • Colour them

Your beads are ready.

Now you can drill hole into them and make a necklace , bracelet or make earrings..Make anything..:)

Have fun!!

Cheers!!

Share with us what did you make 🙂

ImageImage


DIY Ring Holder

Posted on

DIY : Ring holder

DIY projects are always fun!

After making general Jewelry holder and make-up brush holder now we will be making some cool Ring holders 🙂

So are you ready??

You will need:

  1. A case (pot/cardboard box/shoe)
  2. Some fabric
  3. Cardboard pieces

How to make your Ring-holder🙂

1. Cut the cardboard pieces and wrap them up with the fabric according to the shape and size of your case.

2. Put these pieces into the case.

3…. 🙂 well there is no 3.. you are done!!

Innovate, beautiful and share your projects with us!!

Cheers!!

In the pot

In the shoe

case
In the box

Case
In the box

Case
In the box

Mother’s Day DIY: Lip Gloss

Posted on

Image

DIY: Mother’s Day Mint gloss 

Gift you mother something she can use to pamper herself:)

You will need:

1 teaspoon coconut oil

1 teaspoon pure almond oil

1 teaspoon cocoa butter

3-4 drops pure vitamin E oil

1-2 drops pure peppermint extract

3-4 semisweet chocolate chips 

How to do it:

Heat water in a pan and let it boil

Take a heat-safe bowl and add all the ingredients to it

Put this bowl inside the pan making sure water does not touch the bowl

Let the ingredients melt 

Now transfer them to a cute little jar (sterilized)

Always keep it in a refrigerator 🙂

Cheers!!

Mother Day DIY idea: Cross Stitch Cards.

Posted on

These are wonderful!!

Clouds of Colour

Helllooo again lovelies! Mothers Day is just around the corner so Ive been thinking up some home DIYs to share. Here is a simple card I made using cross stitch!

Supplies needed: Heavy weight card, needle and thread…thats all!
First I sketched out my design with pencil, then with the needle I punched holes along the lines making it a lot easier to stitch. Stitch your design on and youre done! Too easy right? xo Bec

View original post

Mothers Day DIY idea: Sand Vases.

Posted on

Beautiful DIY mother day gift 🙂

Clouds of Colour

Hey guys! Another DIY for y’all and just in time for mothers day 🙂 I have been wanting to turn these old jars into vases then had the idea of coating sand on them! I love how subtle this is and keeps in touch with good old nature.

Supplies needed: Old jars, masking tape, sand and glue that will stick to glass ( I used super strength spray glue, the only trouble with this is the vases cant be washed but I found the glue is strong enough to keep the sand on)

Firstly take off any existing labels on the jars then with masking tape make your stripes and coat with glue.


Sprinkle sand evenly over the glue and set to dry. I left it for a few hours but the longer the better. Slowly peel off the masking tape. If the glue and sand start to come off…

View original post 32 more words

Posted on

Image

If you are like me and  love 7UP and Dew and Coke and all those drinks then you too might have many bottles in spare.

These bottles are not safe for filling drinking water so we should try and so something creative with them, what say?

Lets make a multipurpose holder then..

You will need:

1  Few bottles

2. Cutter

3. Small pipe and screws

5. Drill ( you can also heat and melt the center of the bottle to let the pipe pass though.

6. Super glue

How to do it?

Just cut the bottoms of the bottles and drill the centers.

Pass the pipe through the center and  stick the screws

You can either make a stand for the bottom most bottle or can use the bottle in reverse as a stand.

Innovate!

Use different sizes of bottles..

Try different colours and enjoy..

Cheers!!

Mother’s Day DIY : Scrub in a mason jar

Posted on

Image

Gift your mom a very refreshing scrub can be a good idea this mother’s day:)

All you need is :

1. Sea salt

2.Raw sugar

4. oil ( coconut/almond/olive)

5. Orange and lemon zest / essential oils (orange/lemon)

Mix all the ingredients.

Proportion has to be according to your choice.

Add sugar and salt as per your requirement.

Approx measurements : 1/2 cup salt, 1/3 cup sugar, 1/4 cup oil and around 30 drops of essential oil or a pinch of zest.

Pack it in a nice mason jar and you are ready to go.

Attach a little note of love<3

P.S: You can make it for yourself as well!

Image

Source : internet :):)


Cheers!!

DIY: Shaded nails

Posted on

We all want to do something different to our nails every time we polish them .

So here we are with a simple yet awesome DIY for you nails..

You will need:

1. 3-4 shades of same colour of nail polish

2.Water

3. Triangular sponge

4. Nail polish remover

How to do it:

Take a sponge and wet it in water, squeeze about 80% of the water.

Now quickly line the darkest shade of nail paint on the top twice and similarly keep applying the paints from darker to lighter shades each with two layers.

So this quickly so that polish does not dry.

Now place this sponge on a paper and dab it a bit to get rid of clear demarcations.

Place the sponge on you nail, don’t be afraid:) Just do it!

Clean the mess on the edges with a nail polish remover and cover the nails with a clear coat.

It doesn’t sound very simple but it is:)

Try different shades and tell us how it went. Share your pictures too 🙂

Cheers!!